

With all of the back to school displays in the department stores, malls, and even craft and scrapbook stores, I have noticed that there is a trend to have very well-decorated school supplies; fancy book covers and notebooks are just a few of the items I have seen. Lots of these projects can require quite a bit of time and effort but you can do the same fun decorating with Journaling Delights. We’ll show you how in this month’s Creative Corner. And we’ve got some fun new products to show you too. Be sure to check out What’s New. There is always something fun to create with help from letteringdelights.com! |  |
||||||||||||||||||||
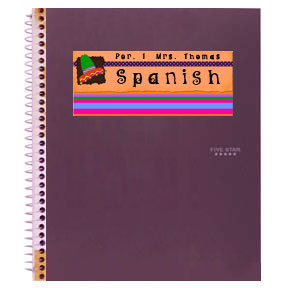
The trick to creating quick easy embellishments and decorations
for notebooks, book covers and any other school supplies is to print your own
stickers using Journaling Delights. Most office supply stores carry sheets
of adhesive paper that are 8 1/2 x 11 and run through a printer with no problems.
This self-adhesive paper is usually found with the mailing labels and other
specialty papers. Simply print your JD onto the adhesive paper, trim, and peel
off the protective backing to adhere it to your notebook, book cover, lunch
bag or any place else you could put a sticker. Use title and journaling boxes
to create custom toppers for notebooks and book covers. Journaling Delights
adornment images can be added for extra fun.
| |||||||||||||||||||||
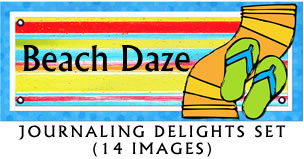
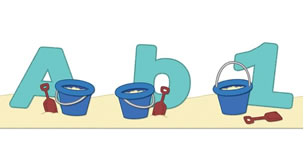
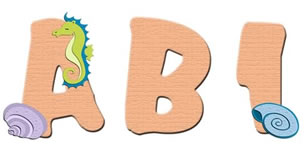
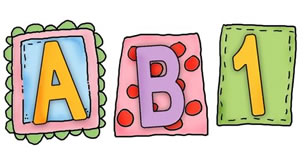
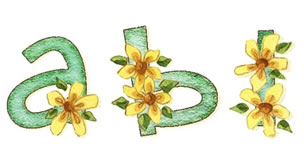
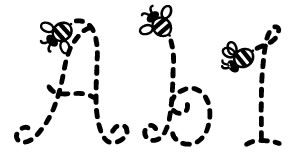
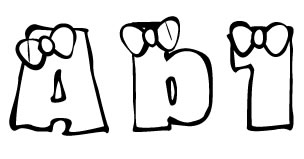
The Head for the Beach Bundle is just $18; that’s a 50% savings over the individual product purchase price. Several new individual products are also now available. Spring Flower and Giggles are two new alphabets and new fonts include LD Buzz, LD Hair Bows, LD Nifty, and LD Stubby. Be sure to also check out these great new items; they are each available for just $3 at LetteringDelights.com |
|||||||||||||||||||||
| So come on over to LetteringDelights.com and be sure to bring along a friend. | |||||||||||||||||||||

©1999 - 2005 Inspire Graphics,
Inc.
PO Box 935
Pleasant Grove, UT 84062